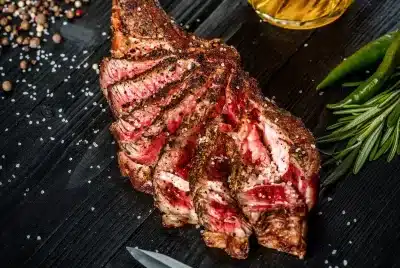
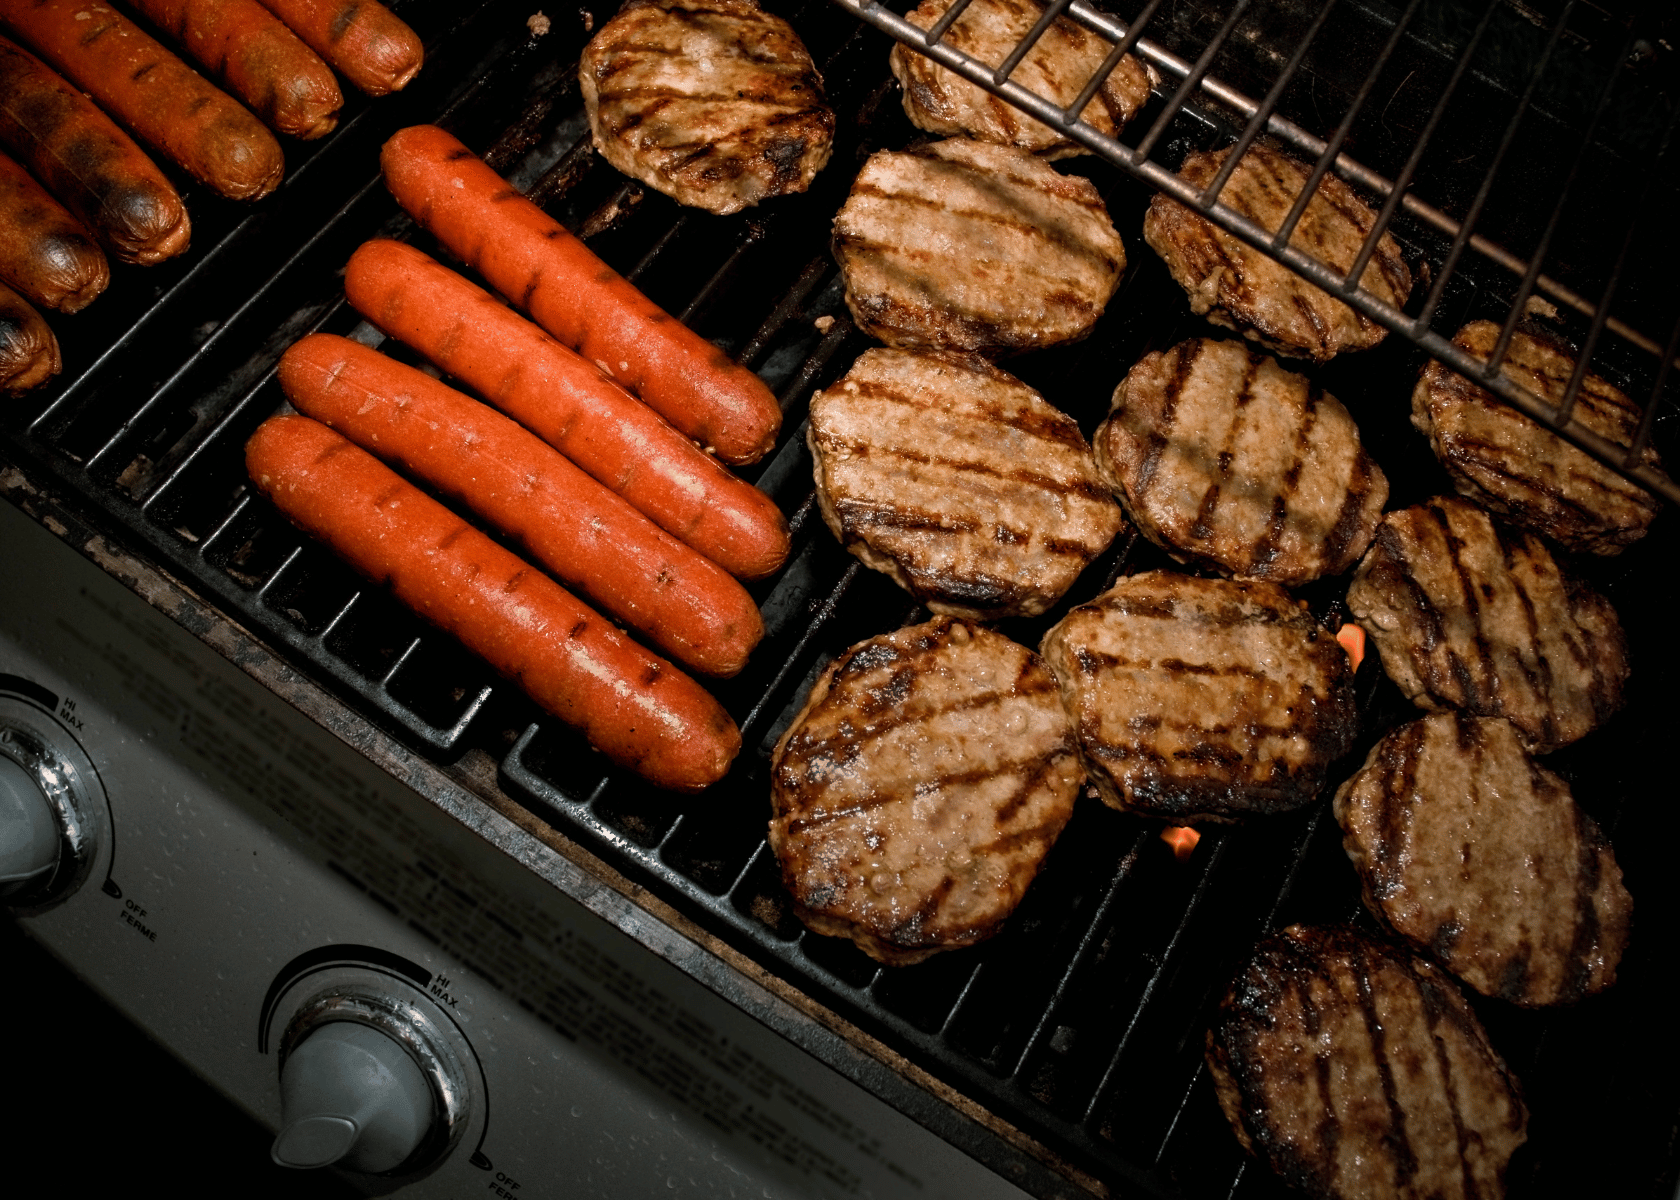
How to Build a Brick BBQ With Chimney

Imagine transforming your backyard into a cooking paradise—a space where you’re embraced by warmth, joy, and enticing smoky aromas. A striking brick BBQ, with a chimney, not only enhances your property’s worth but also elevates your grilling adventures. Whether you’re a DIY enthusiast or looking to refine your masonry skills, this detailed manual on constructing a brick BBQ with a chimney will guide you through each stage, starting from material selection and design planning to adding those personalized touches.
Table of Contents
Key Points
- Opting for top-notch materials like refractory or firebricks and weather mortar is essential for crafting a durable brick BBQ with a chimney.
- Effective planning involves choosing the spot determining the size and shape of your BBQ, and establishing a foundation using rebar reinforcement and cement blocks.
- Erecting the walls with bricks using mortar while ensuring airflow through a sized chimney is crucial. Apply a sealant to safeguard against water damage. Securely affix accessories, to the base.
Planning and Getting Ready for Your Brick BBQ
To ensure your brick BBQ is well prepared, it’s essential to choose materials, pick the spot, and decide on the size and shape of your BBQ.
Selecting the Right Materials
Choosing top-quality materials for your brick BBQ with a chimney is crucial for its success and durability in cooking.
Start by selecting bricks that can handle temperatures and tough weather conditions. Refractory or firebricks are options as they offer heat resistance compared to regular bricks.
Remember to consider elements like a sturdy grill grate made from stainless steel or cast iron, which ensures consistent heat distribution while preventing rust buildup.
For constructing the chimney, invest in a flue lining ( clay or ceramic) that allows smoke ventilation without being affected by thermal stress.
Picking the Ideal Location
When getting ready to construct your brick BBQ with a chimney, choosing the location is key. Factors such as access to utilities, wind direction, and distance from materials, should be taken into account.
Make sure the location you choose has room for cooking and hosting guests comfortably. It’s important to select a spot that meets your needs. Allows you to create a functional outdoor space where you can entertain loved ones while enjoying tasty grilled meals.
Before constructing your brick BBQ, it’s essential to decide on the size and shape that suit your area best. Consider how many people you usually cook for and your cooking style.
A larger BBQ with space is great for large gatherings, while a smaller one may be sufficient for family meals.
To start constructing the base of your brick BBQ, level the ground. Clear any debris.
Begin by laying a foundation with reinforced steel bars for durability and stability.
Preparing the Surface
Before you begin building your brick BBQ, it’s important to prep the ground. Clear. Level the area where you’ll place your BBQ.
After clearing the space, compact the soil using a tamper or plate compactor to prevent settling issues.
If you’re building on an existing patio or concrete slab, make sure to clean and roughen up the surface beforehand. A smooth surface may cause adhesion problems when attaching bricks or cinder blocks, with glue or mortar.
Pouring Concrete Foundation with Reinforced Steel Bars
The foundation plays a role in supporting your brick BBQ structure; hence, it must be robust. To create a foundation for your BBQ, gather mix and reinforced steel bars (rebar).
Start by ensuring that the building site is level. Dig down 4 to 6 inches into the soil. Lay a gravel layer before positioning rebar in a crisscross pattern as, per building regulations.
Once you’re prepared, mix the cement, following the instructions, on the bag until it reaches a consistency, making sure it’s not overly stiff. After letting it set for 24 hours as per the manufacturer’s recommendations (usually spanning from two days to a week), place concrete blocks on top of that foundation with mortar in between to securely interlock them, forming a sturdy base for building your barbecue pit on!
Creating The Foundation Using Concrete Blocks
The stability and durability of your brick BBQ heavily rely on its foundation and base. Once you’ve leveled the ground and poured a footing reinforced with rebar it’s time to position the cement blocks.
When laying down the rows of blocks, ensure they are level by using a mallet and level for adjustments as necessary. Apply construction adhesive or mortar as a bonding agent between each layer of blocks, for added strength.
It’s advisable to build up one block at a time until your base reaches the desired height for your chosen top elevation.
Upon completion, verify that everything is aligned correctly before proceeding to add layers atop this structure.
Building The BBQ Pit And Chimney
Begin by placing the layer of bricks using a layer of mortar.
Start by constructing the walls of the BBQ pit, placing bricks at alternating corners to ensure stability, and using your masonry skills to create an arch, over the opening. Leave a gap in the center for ventilation while using larger bricks to construct the chimney.
Laying the first Course of Bricks
When it comes to laying the layer of bricks for your brick BBQ, begin by marking where you want the grill pit edges to be. Lay down a layer of gravel where the foundation will go for drainage. Make sure each brick is level as you lay them end to end along the line, checking with a spirit level and adjusting any unevenness promptly.
Building Up the Walls of the BBQ Pit With Bricks and Mortar
After setting up the foundation and base for your brick BBQ, proceed to build up the walls of the pit with bricks and mortar. Place the layer of bricks, on top of the base, ensuring they are level and aligned. Remember to stagger each brick layer so they interlock and provide stability to your BBQ pit.
When constructing your way upward, it’s an idea to have a spirit level, on hand at all times to ensure alignment. Also, remember to allow for ventilation by leaving gaps between some upper-level bricks on one side for smoke ventilation before setting up a drainage system connected to drain pipes at the base.
Installing the Chimney With Appropriate Materials
Choosing the materials for your chimney is essential when building a brick BBQ with a chimney. It’s important to select heat-resistant components that can withstand the temperatures produced during cooking outdoors. Clay flue tiles or stainless steel chimney liners are some materials you could use for your chimney installation.
Another key factor to consider when installing a chimney is its size and placement. Your chimney should be proportionate, to the size of your barbecue area. Positioned at two feet above the grill surface to ensure proper airflow, prevent smoke from entering nearby structures, and minimize fire risks.
When setting up a brick BBQ with a chimney, it’s important to select materials, like clay flue tiles or stainless steel liners, based on their durability and heat resistance. Make sure to follow the drawings/measurements for sizing and maintain distance controls for safety precautions throughout the project.
Adding Finishing Touches and Safety Precautions
For the finishing touches and safety measures, apply a coating to the outside of the BBQ to protect it from water damage. Attach a grill and other accessories securely to the base.
To safeguard your brick BBQ from weather elements and maintain its appearance over time applying a coating is crucial. Different types of coatings, like spray on sealants or brush-on liquids are available.
Before starting with the waterproof coating application ensure that the surface of your brick BBQ is dry and clean, from any dirt or debris. Apply layers of coating using a paintbrush or roller starting from the top down. Complete coverage is key to prevent water seepage into the bricks.
After the brick BBQ has dried, make sure to inspect for any missed areas and apply coats if needed.
Adding a Grill and Other Accessories
Next as your brick BBQ begins to take form consider adding a grill and other necessary accessories. A popular choice is a wood burning grill, for that smoky taste though gas or electric grills are also options for those with preferences.
Think about the size of the cooking area required based on how guests you typically entertain and cook for regularly.
When selecting your grill and accessories ensure they complement the design of your brick BBQ to fit seamlessly into the space provided without compromising ventilation or creating fire hazards.
Ensuring Proper Ventilation
Proper ventilation is essential when constructing any cooking structure, including a brick BBQ with a chimney. Inadequate ventilation can lead to smoke buildup inside the BBQ pit presenting health risks and fire hazards.
When designing your brick BBQ pay attention to creating airflow through the chimney. This involves ensuring there are no obstructions blocking the chimney opening and checking for any gaps or cracks, in the bricks surrounding the flue.
When constructing your brick BBQ, it’s important to prioritize safety measures by using materials, like firebricks and refractory mortar that can withstand temperatures without deteriorating. Additionally, ensure the installation of wiring and gas lines to prevent leaks.
Tips and Tricks
Here are some helpful tips for building a brick BBQ with a chimney; opt for larger bricks for the chimney structure, leave space for smoke ventilation, use mortar for stability, and include drainage with a drain pipe in the foundation.
Use Standard or Larger Brick to Build Up the Chimney
Maintain fire safety by incorporating ventilation and applying a waterproof coating on the exterior of your BBQ pit. Choosing larger bricks for the chimney construction enhances stability and durability compared to the bricks commonly used.
Standard bricks are typically around 8 inches long, while larger “jumbo” or “engineer” sizes can reach up to 12 inches, in length. When you use bricks for your chimney, it not only makes building easier but also gives it a more robust look.
A wider opening, in the chimney helps with ventilation. Ensures that smoke goes away from cooking areas. Don’t forget to use mortar to secure the bricks; this will help keep them steady for years.
Leaving a hole in the Middle of the Chimney For Smoke Ventilation
Including a gap in the middle of your chimney for smoke ventilation is essential in a brick BBQ setup. This gap allows for airflow resulting in flavored and tender meat. To create this opening, build up the walls of the chimney using bricks with space left between them.
Safety should always be a priority when constructing a brick BBQ with a chimney. Proper ventilation is crucial. Having fire extinguishers nearby is recommended as a safety measure.
Using mortar to bind the bricks together is key to building a lasting brick BBQ. The mortar acts as the bonding agent that holds everything, in place and adds strength to the structure. There are types of mortar, for purchase, such as ready-to-use mixes or those crafted from cement, sand, and water.
When constructing your brick BBQ, it’s important to apply a layer of mortar on top of each layer of bricks before placing them. Press down firmly to ensure a bond between the bricks.
Make sure to exert pressure for a consistent look throughout while preventing excess mortar from seeping out between the bricks.
Frequently Asked Questions;
- What materials do I need to build a brick BBQ with a chimney?
To construct a brick BBQ with a chimney, you’ll need bricks, cement, sand, mortar mix, a steel grate, cooking grates, and a chimney flue system.
- Can I create my own brick BBQ without assistance?
Absolutely! With the right tools and some basic masonry skills, you can tackle this project independently. However, consulting a contractor may be helpful for advice. Ensuring compliance, with local building regulations.
- How long does it typically take to build a brick barbecue?
Building a barbecue, from scratch usually takes about 4 to 6 days for someone new to the task. Professionals, on the other hand, may finish quicker due to their expertise in masonry work. When it comes to constructing a brick barbecue, ensuring proper ventilation is crucial, as it allows the fumes, from burning wood or charcoal to safely escape.
4. How important is proper ventilation when building a brick barbeque?
Proper ventilation is essential when building any barbecue pit because fumes from burning wood or charcoal need somewhere safe and effective escape. In addition, poor air circulation could cause smoke accumulation inside the house & result in elevated levels of carbon monoxide gas, which could pose serious health hazards if left unattended over prolonged periods of time, resulting in potential safety issues such as fires, etc..
Conclusion
Building a brick BBQ with a chimney is the perfect way to upgrade your outdoor cooking game. With proper planning and preparation, you can create a beautiful and functional addition to your backyard that will impress all your friends and family.
Remember to choose the right materials for the job, select the perfect location, determine the size and shape of your BBQ, construct a solid foundation and base, and build up the wall of the brick pit while installing an appropriate chimney design.
Don’t forget to add finishing touches like waterproof coating for exterior protection and safety precautions such as proper ventilation during operation.
*We may earn a commission for the purchases made using our links. Please see our disclosure to learn more.